The United States is about world-famous landmarks like the Statue of Liberty and iconic cities like New York, Las Vegas, Chicago, and many more. But before you travel to the States and start exploring the breathtaking things, you would need to apply for a visa. It is the main key to your exciting trip, but it should easily fit into the lock.
This Booking trolley guide takes you through every step that is important for you while applying for the Tourist Visa USA. It covers everything from the criteria to apply on the website to how to use it and how to avoid mistakes. This will help you to fill the visa application carefully without feeling anxious.
What is a US tourist visa?
This visa is known as B-2 Visa, the other name for the tourist visa, which is stamped in the passport by a U.S. embassy or consulate. It is a way to get to a U.S. port of entry (airport or land border) and request to be admitted to the United States by an immigration official.
What is a B1/B2 visa?
A B1/B2 visa is a non-immigrant visa that allows a temporary visitor to enter the United States for a short period of time. It's really a mix of two kinds of visas, which are usually given simultaneously as one visa.
B-1 (Business): Temporary travel for business purposes.
B-2 (Tourism/Pleasure): This visa is for the people who are going to meet their family or friends or for an important medical reason.
It allows you to travel to a U.S. airport or border to request permission to enter, but you should know that having the visa doesn’t necessarily mean you’ll be allowed to enter.
Who needs a tourist visa for USA?
In general, a foreign citizen who wishes to travel to the United States temporarily must obtain a visa in advance. But if you are one of these two major exceptions, you do not need to apply for a B1/B2 visa:
Visa Waiver Program (VWP) Countries: 42 participating countries have the privilege to visit the United States for up to 90 days, and they do not need a visa for tourism and business. The citizens of that country just need to apply online for an automated travel authorization, which is also known as the ESTA, and the application has to be done before the flight.
Canada and Bermuda: Citizens of Canada and Bermuda do not need a visa for temporary entry to the United States.
You must apply for a B1/B2 tourist visa for USA if your country is not included in the Visa Waiver Program or if you would like to stay longer than 90 days in the country.
What is permitted on a tourist visa?
A tourist visa USA is for temporary visits only and U.S. immigration officers are very clear about what activities are allowed.
Things you CAN do:
Take a vacation, travel around the country or visit friends and family.
Go to a business meeting, negotiate a contract, attend a professional conference.
Seek medical care.
Take a short, fun class that doesn't count toward a degree (like taking a two-day cooking class on vacation).
You can take part in amateur musical or sporting events, as long as you do not get paid to perform.
Things you CAN NOT do:
Work or accept any kind of employment.
Study for credit towards a degree.
Perform infront of a paying audience.
Work as a journalist in foreign media.
Live in the United States permanently.
Tourist Visa USA Requirements
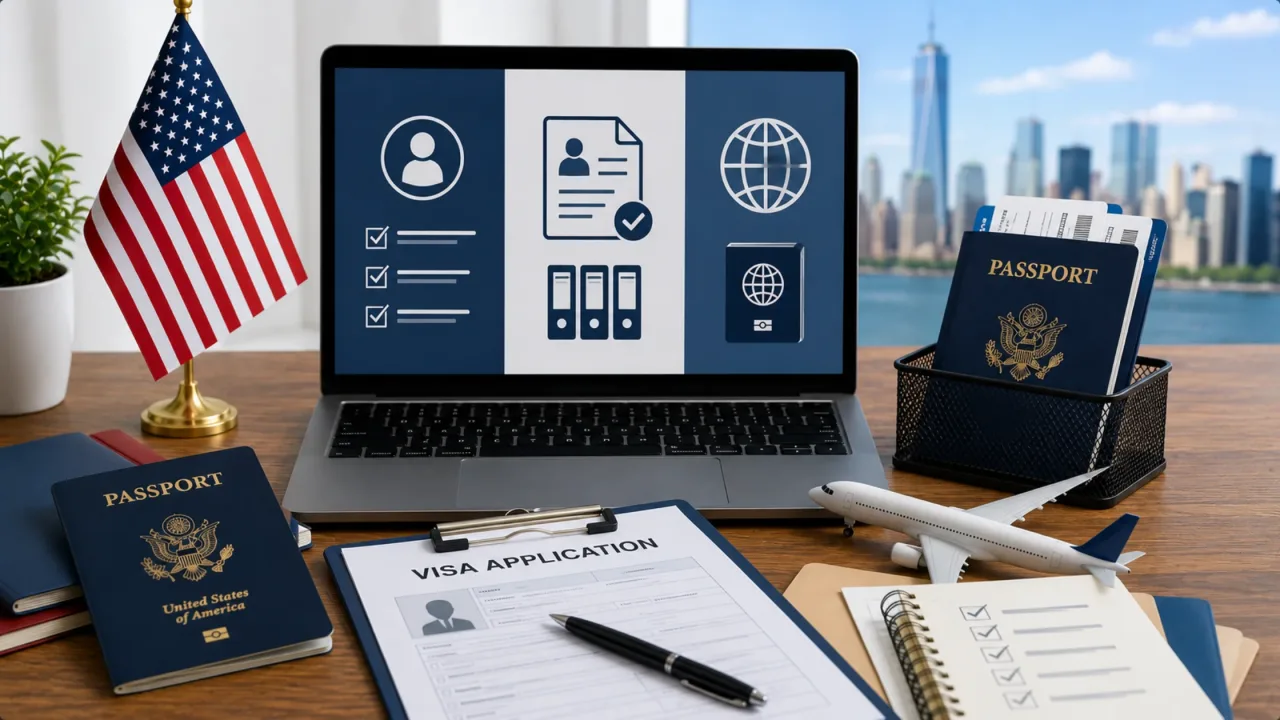
If you are coming to the United States for a short vacation, to visit relatives or for a short medical treatment, you will probably need to apply for a B-2 tourist visa. At first glance applying for a visa may seem complicated but if you break it down into simple steps it becomes much easier to understand. The US government has very specific rules as to who is eligible for a tourist visa and what paperwork must be provided to establish eligibility.
Eligibility Criteria
To get a tourist visa USA, you must convince a consular officer that you are a genuine visitor. This means you must meet some important conditions according to the U.S. immigration laws before your visa can be approved.
The first step is to prove that you are visiting the country on a temporary basis only. This can be for tourism, pleasure, or medical treatment. However, the most important point is that this does not allow any traveler to work or study in the United States.
The second step is that you have to show that you are in the United States only on a temporary basis. Make sure to convince the officer that you have a legitimate reason to go back home.
Lastly, you need to prove that you have strong connections to your home country. This is normally shown by having a steady job, owning property, or having close family ties that mean you need to return. The U.S. government assumes every applicant wants to stay here forever, so it’s up to you to prove otherwise at your interview.
Required Documentation
You need to bring certain documents with you to support your application when you attend your visa interview at the U.S. Embassy or Consulate. These documents allow the officer to verify the information you have provided in your online application.
Here’s a checklist of what you need:
Current passport
DS-160 Registration
Passport photograph
Visa appointment confirmation
Payment of visa fee
Proof of means of support
Student or employment papers
Travel itinerary (if any)
Not all documents in this list are scrutinized by the interviewing officer all the time, but having them arranged and in order shows that you are a prepared and legitimate traveler.
Financial & Passport Information
Your passport and financial documents are two of the most important parts of your visa application and there are very specific rules for these.
Generally, your passport should be valid for at least 6 months beyond the date you plan to leave the United States. For example, if you plan to stay in the U.S. until January 1st, your passport must be valid until July 1st of that year. It has to be in good condition with blank pages for the visa stamp.
You will need to demonstrate that you have the financial means to pay for all expenses during your stay in the United States. That includes your flights, hotels, food, transportation and medical treatment if needed. This can be shown by providing recent bank statements, tax returns, or pay stubs.
If someone else, such as a family member, is paying for your trip you must show proof they can support you financially, such as a letter of support from their employer or their bank statements. One of the most important factors in getting your visa approved without delays is being able to comfortably afford your trip.
How to apply for a US Tourist Visa?
It can seem like a long and complicated process to apply for a tourist visa USA (B-1/B-2), but really it is a logical and straightforward process if you take it one step at a time. The official application process is administered worldwide by the U.S. Department of State. Since wait times for an interview can sometimes take several months depending on your local embassy, it is highly recommended that you start this process well before you actually plan to travel.
Here’s what you need to do, step-by-step, from filling out your very first form until you finally get back your passport with your new visa in it.
Step 1 – Fill out the DS-160 form
The first and most time consuming thing you need to do is to fill out the official online visa application, which is called Form DS-160. You can only complete this form online at the U.S. Government’s Consular Electronic Application Center (CEAC) website. This application is not provided in hard copy.
The long form will require you to answer in detail about your personal background, your family, your education and work history, your past international travel and your specific plans for visiting the U.S. You’ll also be asked to upload a digital, passport-sized photo of yourself that meets strict U.S. government requirements.
Step 2- Pay the Visa Fee
Once you've finished your DS-160, you have to pay the official government application fee. The fee for a standard B-1/B-2 tourist visa USA is now $185 USD.
The exact method of paying this fee varies depending on the country you are applying from. In some countries, you can also pay cash at a designated local bank. Most of the US embassies have made the payment method very easy for the travelers. They can pay right at the embassy using a credit card, debit card or make a bank transfer.
It is very important to note that this fee is strictly non-refundable and non-transferable. This fee is not refundable even if you accidentally cancel your appointment or the consular officer determines that your visa application is not approvable at the interview. When you have made a successful payment you will receive a digital receipt with a unique confirmation number. Please make a note of this receipt number and keep it safe as you will be asked to enter it into the online booking system before you can choose your appointment dates.
Step 3 – Schedule Your Visa Appointment
Now that your application is submitted and your fee is paid in full, you are ready to schedule your visa appointments. To do this, you will usually need to create a secure user profile on the official U.S. visa scheduling website for your specific region.
In many countries around the world, you do not just book one single appointment you actually have to book two separate appointments on different days:
A preliminary biometric appointment at a local Visa Application Center (VAC).
Your actual, formal interview appointment at the U.S. Embassy or Consulate.
Try to book these as early as possible. Depending on where you live and the current season, you might have to wait a few weeks or even up to a year for an open interview slot.
Step 4 – Biometrics (where required)
Your first physical step in the process is going to the Visa Application Center (VAC) for your biometrics appointment in most countries. This usually happens a few days, or sometimes a week, before your main embassy interview.
This is a very quick and easy administrative visit. You don’t have to bring all your heavy financial folders with you here. Just bring your valid passport, printed DS-160 barcode confirmation page and printed appointment confirmation letter.
In the middle, the staff will digitally scan your fingerprints and take a good photograph of your face. There is no stressful interview at this stage, they are just collecting your physical data to run security background checks before you meet with the consular officer.
Step 5 – Go for the Visa Interview
This is the single most important step in the entire process. You will report directly to the U.S. Embassy or Consulate on the date and time of your interview. All your required documents need to be brought in a neat folder. This includes your passport, your DS-160 page, your fee receipt and all supporting evidence you gathered, such as bank statements, tax records or letters from your employer showing you have steady income.
The interview is surprisingly short. You will talk to an official from the U.S. behind glass, and it typically only takes 5-10 minutes. The consular officer will pose pointed questions so you will have a clear understanding of why you want to visit the U.S., how you plan to pay for the trip, and what compelling reasons you have to go back to your home country.
The best advice for passing the interview is to just be completely honest, dress professionally and answer questions directly without over-explaining. The officer's main job is to see that you have strong ties to your home country – like a job, property or family depending on you, and that you aren't secretly planning to stay and live illegally in the U.S.
Step 6 – Get Your Passport
At the very end of your short interview, the consular officer will normally inform you immediately if your tourist visa USA is approved or not.
Your physical passport will be kept by the officer if your visa is approved. This is necessary so that the embassy staff can safely print your new U.S. visa sticker and place it into one of the blank pages of your passport. This last step usually takes a few days to a few weeks, depending on the current workload of the embassy.
You will be informed via email or a text message when the passport will be ready. You will have the option to collect the passport in person from a designated collection point, or you can also get it via home delivery by a courier service.
Before filling out the application, kindly give a look at this simple timeline of your whole visa process below:
1. Complete Form DS-160 : Online application
Complete your background and travel information on the official U.S. government website and save your confirmation page.
2. Visa Fee: $185 U.S.D
Pay the non-refundable application fee online and securely, and keep your confirmation receipt number.
3. Schedule appointments:
Book your biometrics and interview dates online via your local U.S. Embassy scheduling page.
4. Attend Biometrics :
Attend biometrics if required in your country. Visit the Visa Application Center to provide your digital fingerprints and have a security photo taken.
5. Attend Visa Interview:
Present all supporting documents at the U.S. Embassy and answer consular officer's questions honestly.
6. Receive Your Passport:
The passport with the US visa stamped in it will be with you within a few days or weeks, this usually happens ater the approval.
USA Tourist Visa Cost & Processing Time
As you make your arrangements to travel to the United States, it is useful to know exactly how much is the cost of a tourist visa USA and how long you may have to wait before you can travel.
How much is a tourist visa to USA?
The regular processing fee for a tourist visa USA (B-1/B-2) remains the same as recent years in 2026. But the U.S. Department of State recently announced a new, temporary option for travelers who need their visa in a major rush.
Here's a simple breakdown of what you can expect to pay:
| Fee Type | Amount | Details |
|---|---|---|
| Standard Application Fee | $185 USD | Required for all B-1/B-2 applicants; non-refundable. |
| Expedited Interview Fee | $750 USD | Optional 2026 program to get an interview within 10 days at select embassies. |
| Visa Issuance Fee | Varies | Depends on your home country (many countries pay nothing extra). |
Note: If you cancel your appointment or your visa application is denied, the U.S. government does not issue refunds.
Processing Time
You have to wait for two different periods of time to get a tourist visa USA:
Waiting for an interview: This part of the application is very time taking. Although it has improved in many countries as of 2026, however it can still take weeks to months for first time applicants.
Waiting for Your Passport: After your interview, the embassy will print the visa sticker and mail your passport back to you, typically within a few days to a couple of weeks.
Visa Validity & Duration of Stay
It is very important to understand the difference between the length of time your visa is valid and the length of time you can stay in the United States.
Validity of Visa: Depending on the passport you hold, a tourist visa USA can often be valid for up to 10 years. This means you have 10 years to make your way to the border with the U.S. and ask to be let in.
Length of Stay: Even with a 10-year visa, you cannot remain in the U.S. for 10 years. When you arrive at the airport, a Customs and Border Protection officer will decide how long you may stay for that one trip. Most tourist visits allow a maximum stay of up to 6 months per entry.
Visa Interview Tips and Reasons for Rejection
Common Questions During an Interview
During your visa interview, the consular officer will ask you short, direct questions to determine the true purpose of your trip. The interview is normally only a few minutes long so expect questions like:
What do you do in the United States?
How long exactly are you going to stay?
Who's paying for your flights, hotels and medical expenses?
What is your present work and how long have you been doing it?
Do you currently have any close friends or family in the U.S.?
Tips to Improve Your Chances of Approval
The most important thing you can do to give yourself the best chance of getting your visa approved is to show "strong ties" to your home country. This will serve as evidence that your life is firmly entrenched in your current place of residence and that you have a good reason to leave the U.S. after your trip.
Be consistent: Make sure the answers you give out loud in the interview are exactly the same as the information you typed into your DS-160 application form.
Demonstrate stability: Bring documents that prove you have a stable career, own property or have immediate family members that rely on you to come back home.
Keep it brief: Be clear, confident and honest when answering the officer’s questions. Don’t give the officer long, complicated stories unless he asks you for more details.
Be specific: Have a clear and logical travel itinerary, including where you will stay and what you will do on your trip.
Why Tourist Visas Are Rejected
Under US immigration law (a rule called section 214 (b)) officers have to legally assume that every single tourist visa applicant secretly wants to move to America permanently. You have the entire burden of proof on you.
The Number one reason tourist visas USA are denied is that the applicant just didn’t show they had strong enough ties to go home.
This often happens when an applicant is unemployed, has a very low income, or is young, with no property or dependents to tie them down.
Other common reasons for rejection include providing unclear or suspicious answers, having major mistakes or blank spaces on the DS-160 application form, or a history of overstaying a visa.
If your visa is refused under this rule you will not be refunded the application fee and you will not be able to formally appeal the decision.
Conclusion
Applying for a tourist visa USA (B-1/B-2) is a simple process if you follow the steps, but it does require time and preparation. The best tool for success is to be organized, from filling out your DS-160 form, paying the $185 fee and gathering your financial documents.
The most important part of the whole journey is the interview. If you can convince the consular officer that you have a clear travel plan, enough money to support yourself and strong ties (steady career, family, etc.) that will make you go back to your home country, then your chances of visa approval are very high. Know the rules and prepare honestly by following this guide carefully, and you can negotiate the system with confidence and get on with planning your trip to the United States.
Frequently Asked Questions
To apply for a U.S. tourist visa (B-1/B-2), you’ll need to fill out the DS-160 Online Nonimmigrant Visa Application on the State Department website, upload a photo, pay the application fee (usually $185), and schedule two appointments at the nearest embassy or consulate one for biometrics and another for a visa interview.
US tourist visa (B-1/B-2) - stay up to 6 months (180 days) per entry. However, the exact length of time is determined by a U.S. Customs and Border Protection (CBP) officer at the port of entry and is noted on your I-94 Arrival/Departure Record.
Yes, the US is issuing tourist visas (B-1/B-2) as of now. Some countries are dealing with entry and visa suspensions, some embassies have suspended services, and wait times for interviews vary by location. The state department also said some locations will charge a $750 fee to guarantee an interview within 10 days.
Major changes for US visitor visas include a required $250 “visa integrity fee,” the suspension of B-1/B-2 visitor visas for nationals of 19 specific countries and increased vetting requiring travelers to provide five years of social media history before entry.
The fee for a United States tourist visa (B-1/B-2) is $ 435.
The pricing framework includes two main mandatory costs: Base Application Fee (MRV Fee): $185, non-refundable, payable upon submission of your application.
Visa Integrity Fee: $250, implemented by the One Big Beautiful Bill Act. This fee is applicable to non-exempt countries (India, China, Brazil and Nigeria) and is collected at the time of visa issuance. It’s like a security deposit. You get it back when you follow all the rules of your visa and leave the U.S. on time.